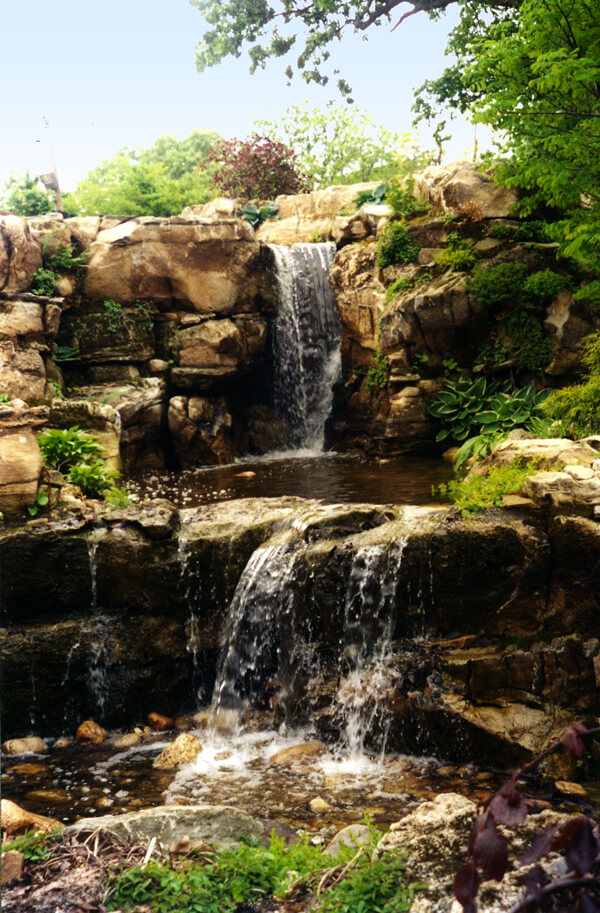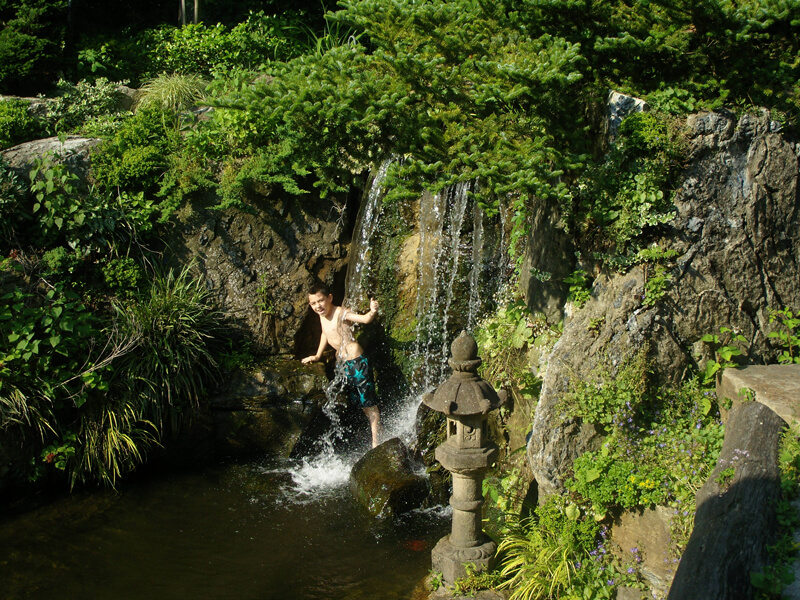

BUILDERS OF WATERFALLS & ROCK GARDENS IN TRI-STATE AREA
Custom Waterfalls That Blend into the Natural Landscape
When considering the design of a waterfall, careful evaluation of the site is necessary. The surrounding topography must relate to the water feature. How would water flow through the property naturally? Or, what do we need to change to make a waterfall look as though it flows through the property naturally?
Grade Changes are Opportunities for Water Features
Natural grade changes are perfect opportunities to create new and interesting features in the landscape. A slope on a property is an asset that should be used properly. Emil Kreye & Son will assist you in designing a waterfall that is ideal for your site. In some cases, digging out a slope to build a waterfall will provide for a larger and more dramatic cascade, but additional retaining will be necessary.
Waterfalls can also retain the grade in stages, providing multiple cascades. Each tiered level of a waterfall cascade can provide different points of interest and different planting environments. By building usable places in the garden, such as sitting areas where the waterfall may be enjoyed, your garden’s visitors are lured into each unique space. Because a garden changes with the light and the season, each visit will evoke a different experience.
How to Build a Waterfall
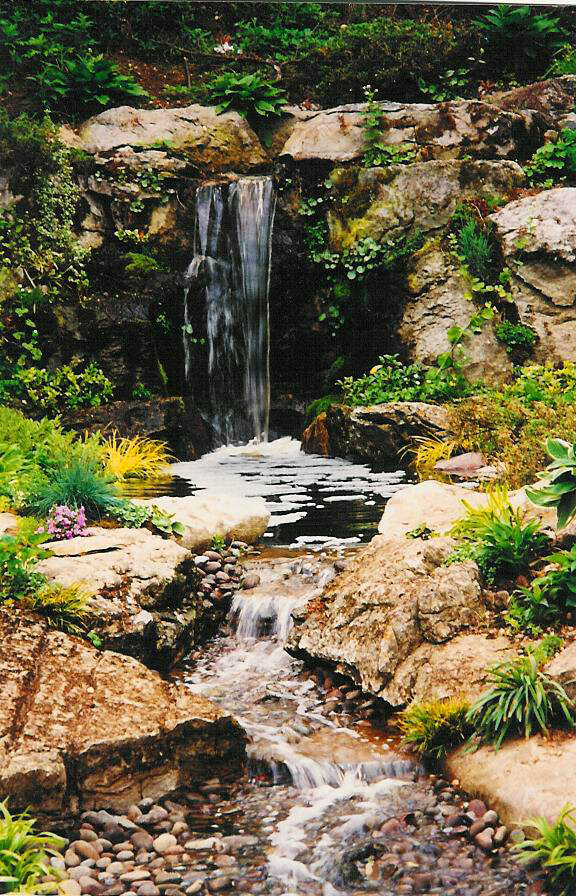
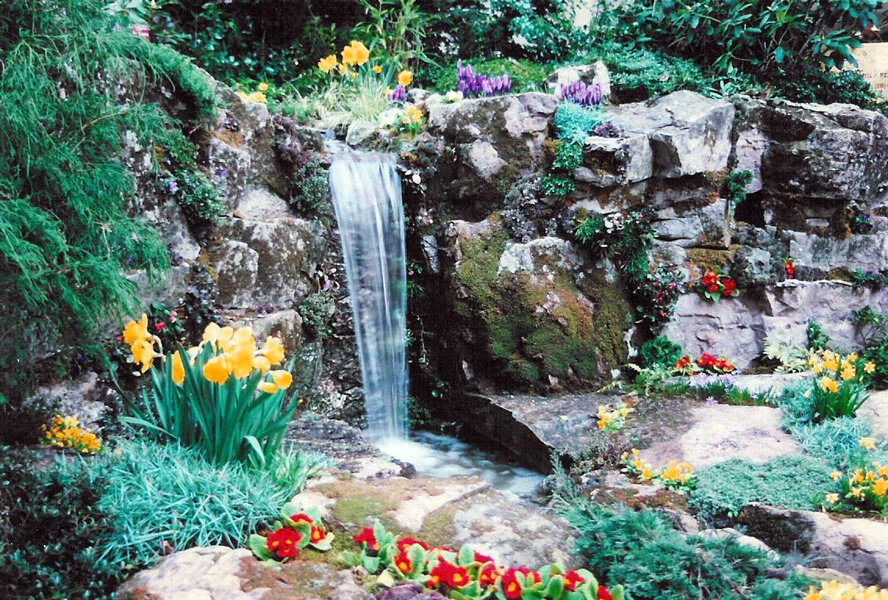
Waterfalls that flow into swimming pools or ponds first and foremost should always be designed to fit into the landscape and the topography of the residence, rather than emerge out of a “water volcano” or mound of earth in the center of the yard. Waterfall designs are best when the viewer believes that the waterfall has always been there. Sloping the waterfall building area will enable the stream to meander with little cascades.
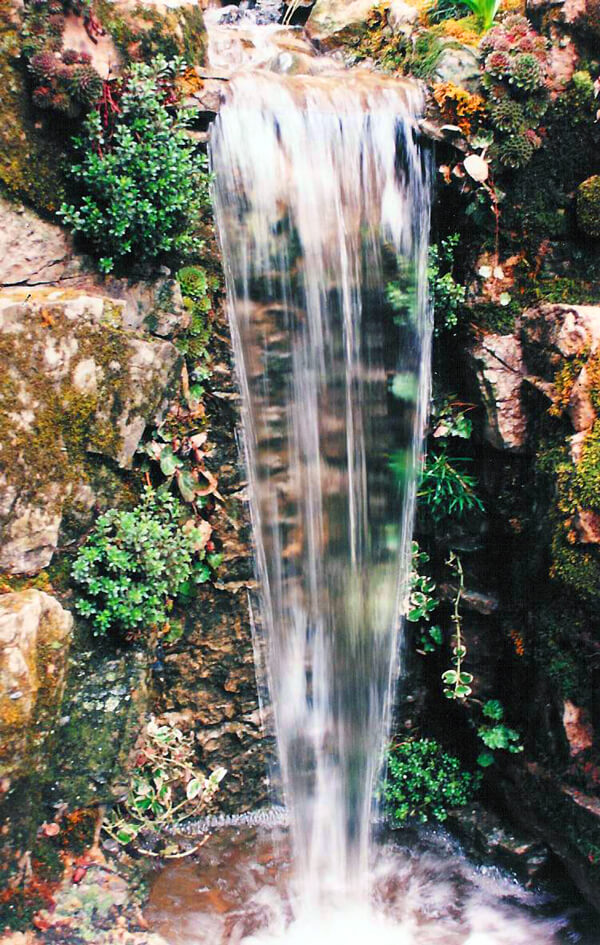
Waterfall Construction – A Step-by-Step Process:
- Excavate area to the elevation of the pool beam or the edge of the pond.
- Stabilize the building area. This is the most important part of the project. Depending on how heavy the rock installation, tamped soil, soil cement or a cement foundation may be necessary.
- Slope toward the pond, this will prevent the water from running back under the waterproofing material.
- Install waterproofing rubber. We do not recommend using cement because it cracks over time and leaks.
- Arrange rocks on the rubber carefully. A poorly placed rock can result in a hole in the rubber, which will cause leaking problems over time.
- Arrange the retaining rocks outside the rubber to retain the grade.
- Install appropriate plantings for the soil and drainage conditions.
